Infusing the herbs into the oil requires time, heat, or a combination of the two. The herbs can be either fresh or dried, but caution must be used with fresh herbs because moisture can cause allow dangerous organisms like botulism to grow. This can be avoided by infusing at a high temperature and them ensuring all moisture is removed. Alternatively, you can ensure the herbs are thoroughly dried before infusing.
You can infuse dried herbs for a period of several weeks. Or, you can heat them in a hot water bath on the stove top or in a crock pot for several hours. Since there is no concern about spoilage, the temperature can be kept quite low and you can leave the herbs continue infusing for a few days at room temperature, if you desire. For fresh herbs, a hot infusion technique is needed to prevent the growth of dangerous microbes, so the temperature needs to be kept at or near boiling and the herbs and any residual moisture must be removed promptly after infusing.
Here, we have dried comfrey leaves to be infused. For coarse, loose herbs like this, I fill the container almost to the top before covering with oil. With powdered herbs, I would use much less.


Here, I am using a gentle hot water bath to accelerate the process.

You can see the oil has now taken on the green color of the dried comfrey leaves.

Here, we have dried calendula petals infusing in oil.


Here is an example of infusing fresh herbs. These broadleaf plantains have been freshly harvested from the yard.

First, we coarsely chop the leaves.


Then, we put them in our jar and cover them with oil.


Again, I am heating the mixture in a hot water bath, but in this case I will quickly heat it to a low boil to prevent nasty microbes from growing.

Here, you can see the color is beginning to leave the leaves as it is drawn out into the oil.

As you can see, the plantain makes quite a dark green infused oil, nearly black.

Water and oil do not mix and water is heavier than oil, so you may find moisture at the bottom of your oil. Let it settle out and then carefully decant the oil, leaving any droplets or debris behind.

An herb-infused oil can be applied directly to the skin. They also have other uses, such as coloring in home made soap recipes. But if you want to produce an ointment, you need something to thicken and harden the oil. The most common ingredient for this purpose in herbal ointments is beeswax. A good texture can be obtained with about 1 part beeswax to four parts oil. So simply measure your oil, divide by four and use about that much beeswax. This doesn’t have to be terribly precise.
I like to use a double boiler set up (or bain-marie). Here, I have simply nested a steel bowl in a pot of water on the stove top. I am using yellow beeswax that has been fashioned into pastilles for easier handling.

Once the beeswax is melted, you add the infused oil (comfrey pictured here).

Then pour the liquid into your ointment containers.

As it cools, the ointment will harden and become opaque.

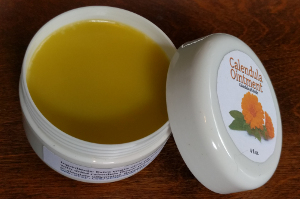
Here you can see the same process with calendula ointment.


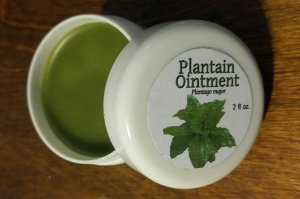
And here is a finished ointment made from plantain. Although it lightens as it cools and hardens, it still makes a rather dark colored ointment.

You can purchase dried herbs to infuse, or you can grow or wild-craft your own. The broadleaf plantain (Plantago major) depicted here is commonly found growing as a weed. Here is an example of the plant growing in a yard.

The narrowleaf plantain (Plantago lanceolata) can be used similarly.

Another common wild herb used to make an ointment is chickweed (Stellaria media).

You can also add essential oils to ointments. Since essential oils are relatively volatile, allow the oil and wax mixture to begin cooling before adding the essential oils. Keep in mind that essential oils are highly concentrated and you should be careful that you are always using a safe dilution.
If you are interested in buying pre-made herbal ointments, I currently offer several on my Etsy store:
Plantain Ointment
Comfrey Ointment

Calendula Ointment
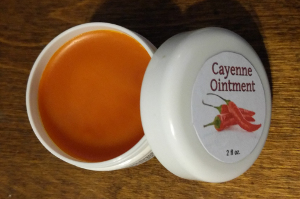
Cayenne Ointment


